CYANOTYPE INK RECIPE
The chemical formula dates back to 1842 (thanks John Herschel) there are several variations (thanks Mike Ware).
Here is the recipe I use for my creations, detailed step by step to make 200ml of cyanotype emulsion. Azul Loeve
1/ INGREDIENTS
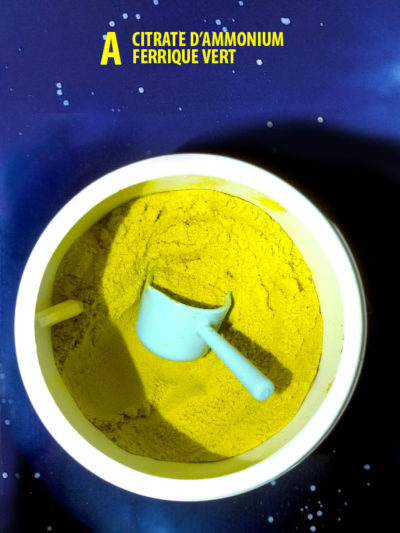
A – ferric ammonium citrate, a green-yellow powder
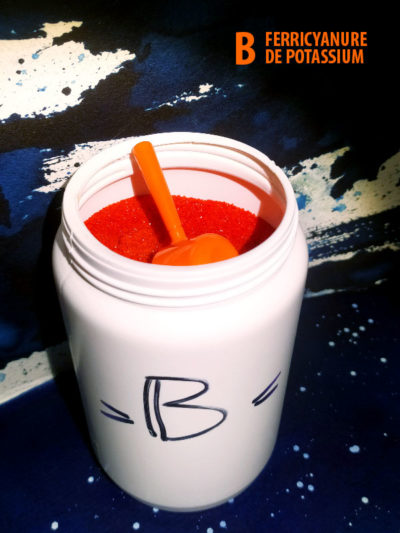
B – potassium ferricyanide, a red-orange powder
+ distilled water
-> Both powders must be handled with the usual precautions as in a chemical laboratory, in particular, isolate the work area, prohibit any food or drink, do not ingest the products or inhale them. At the end of the work, thoroughly wash the surfaces that have been in contact (including the body!). These two components and the cyanotype emulsion that will be produced can be put into the waste water circuit.
Ferric ammonium citrate is a food additive better known as E381 and potassium ferricyanide is a harmless version of cyanide, once used to paint tomatoes red. It is now forbidden to use it in the building industry because this paint reacts with bleach, and there yes, it has a harmful effect. On the other hand “ferri” is still used in photography and offset printing.
-> For safety: do not approach bleach, soda or any other ammonia derivative, even to wash surfaces and utensils before or after.
-> I buy these ingredients at Disactis, on the internet.
-> It is possible to use tap water but the result will be less well controlled: distilled water ensures that there is no chemical variation due to the presence of minerals.
2/ USTENSILS
Essential precaution: AVOID METAL
not for safety but because it can spoil the chemical process.
Use only elements without any metal parts or coatings.
– a precision scale in grams (it will not be in direct contact with the ingredients so no precautions to take)
– 2 containers of at least 100ml
– 1 flask or small bottle of at least 200ml, preferably opaque or made of brown glass
– a beaker or other way of measuring the liquid
– 2 spoons (plastic, wooden, glass)
– 3 stirrers or other sticks
– rags, gloves and enough to preserve your workspace
-> use a container, a spoon and a stirrer specific to each mixture.
3 / MANUFACTURE THE SOLUTION A
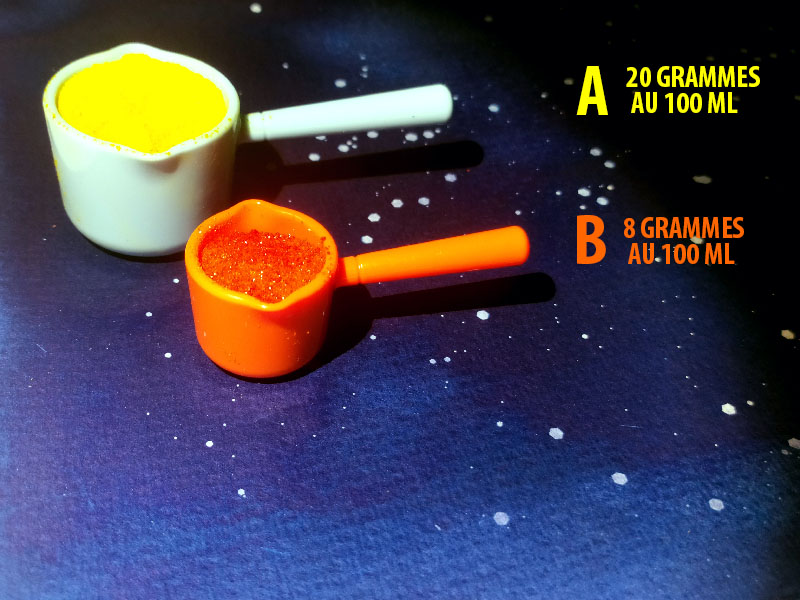
Measure 20 grams of ferric ammonium citrate
Measure 100ml of water
Mix
4 / MANUFACTURING SOLUTION B
Measure 8 grams of potassium ferricyanide
Measure 100ml of water
Mix
5/ MANUFACTURE THE CYANOTYPE EMULSION
The 2 solutions are combined in equal parts to create a photosensitive emulsion, i.e. one that reacts to light.
So from now on the process is done in a place protected from daylight, ultraviolet and most neon lamps.
Measure 100ml of solution A
Measure 100ml of solution B
Mix
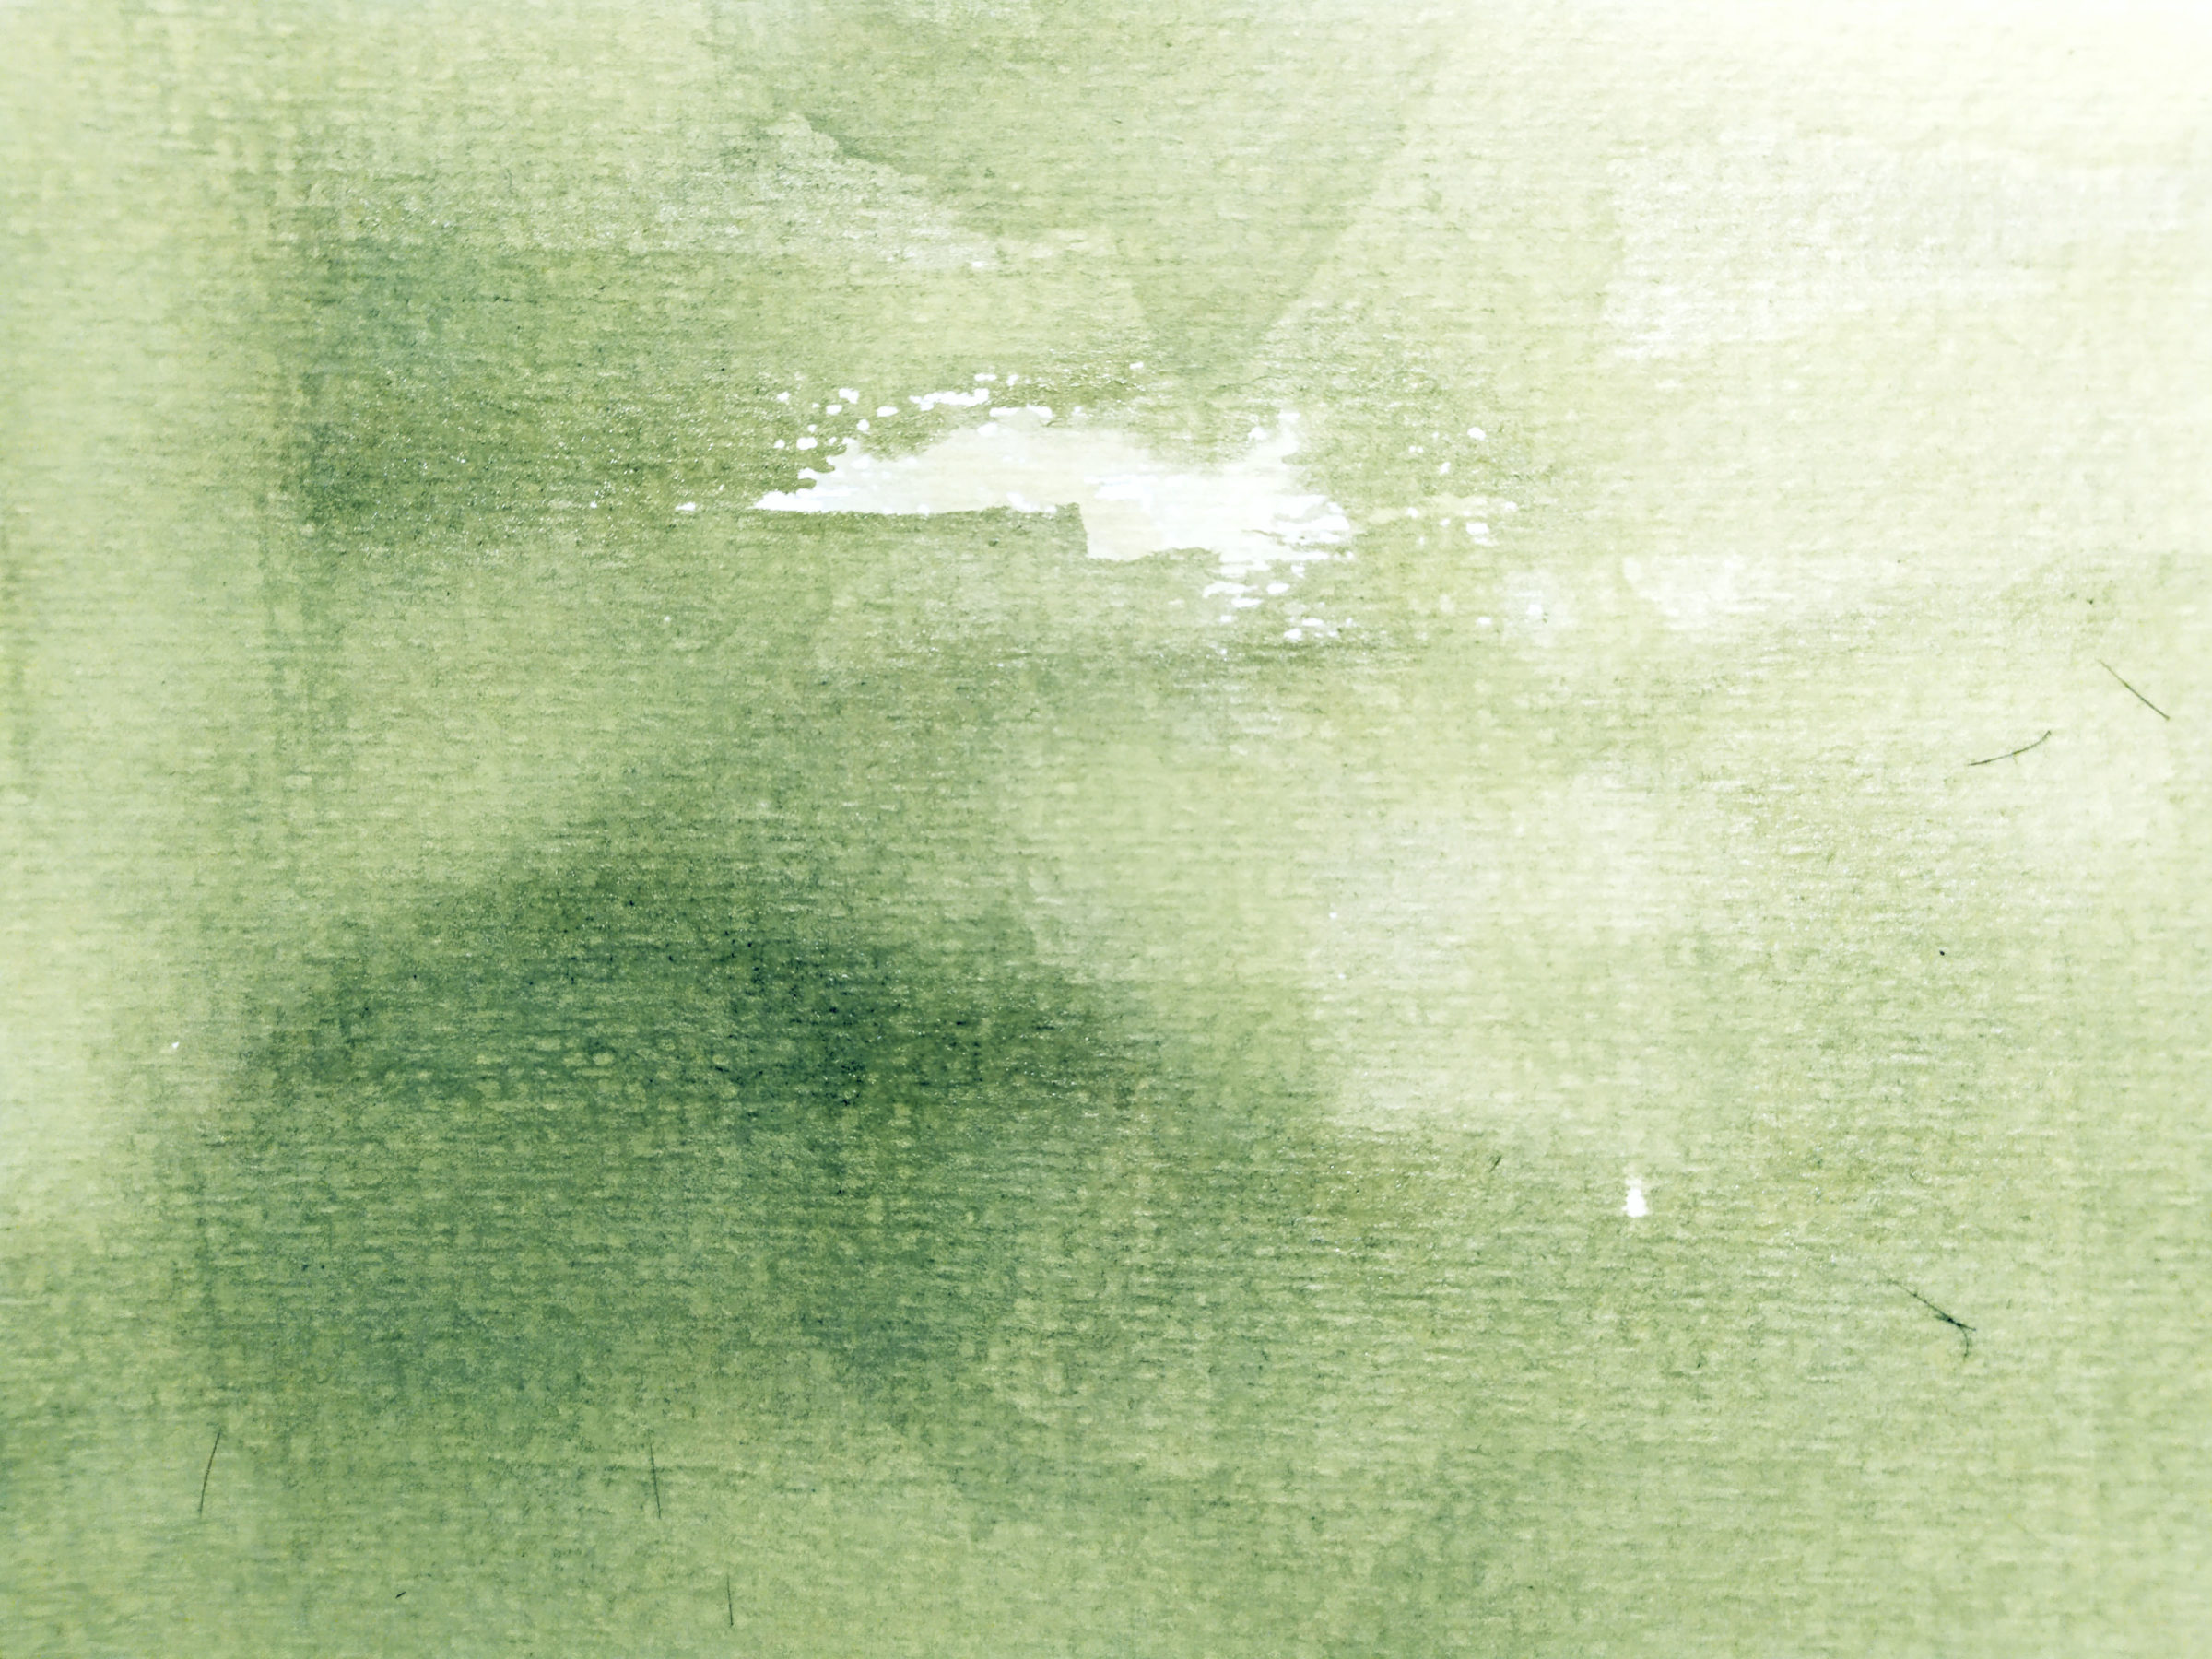
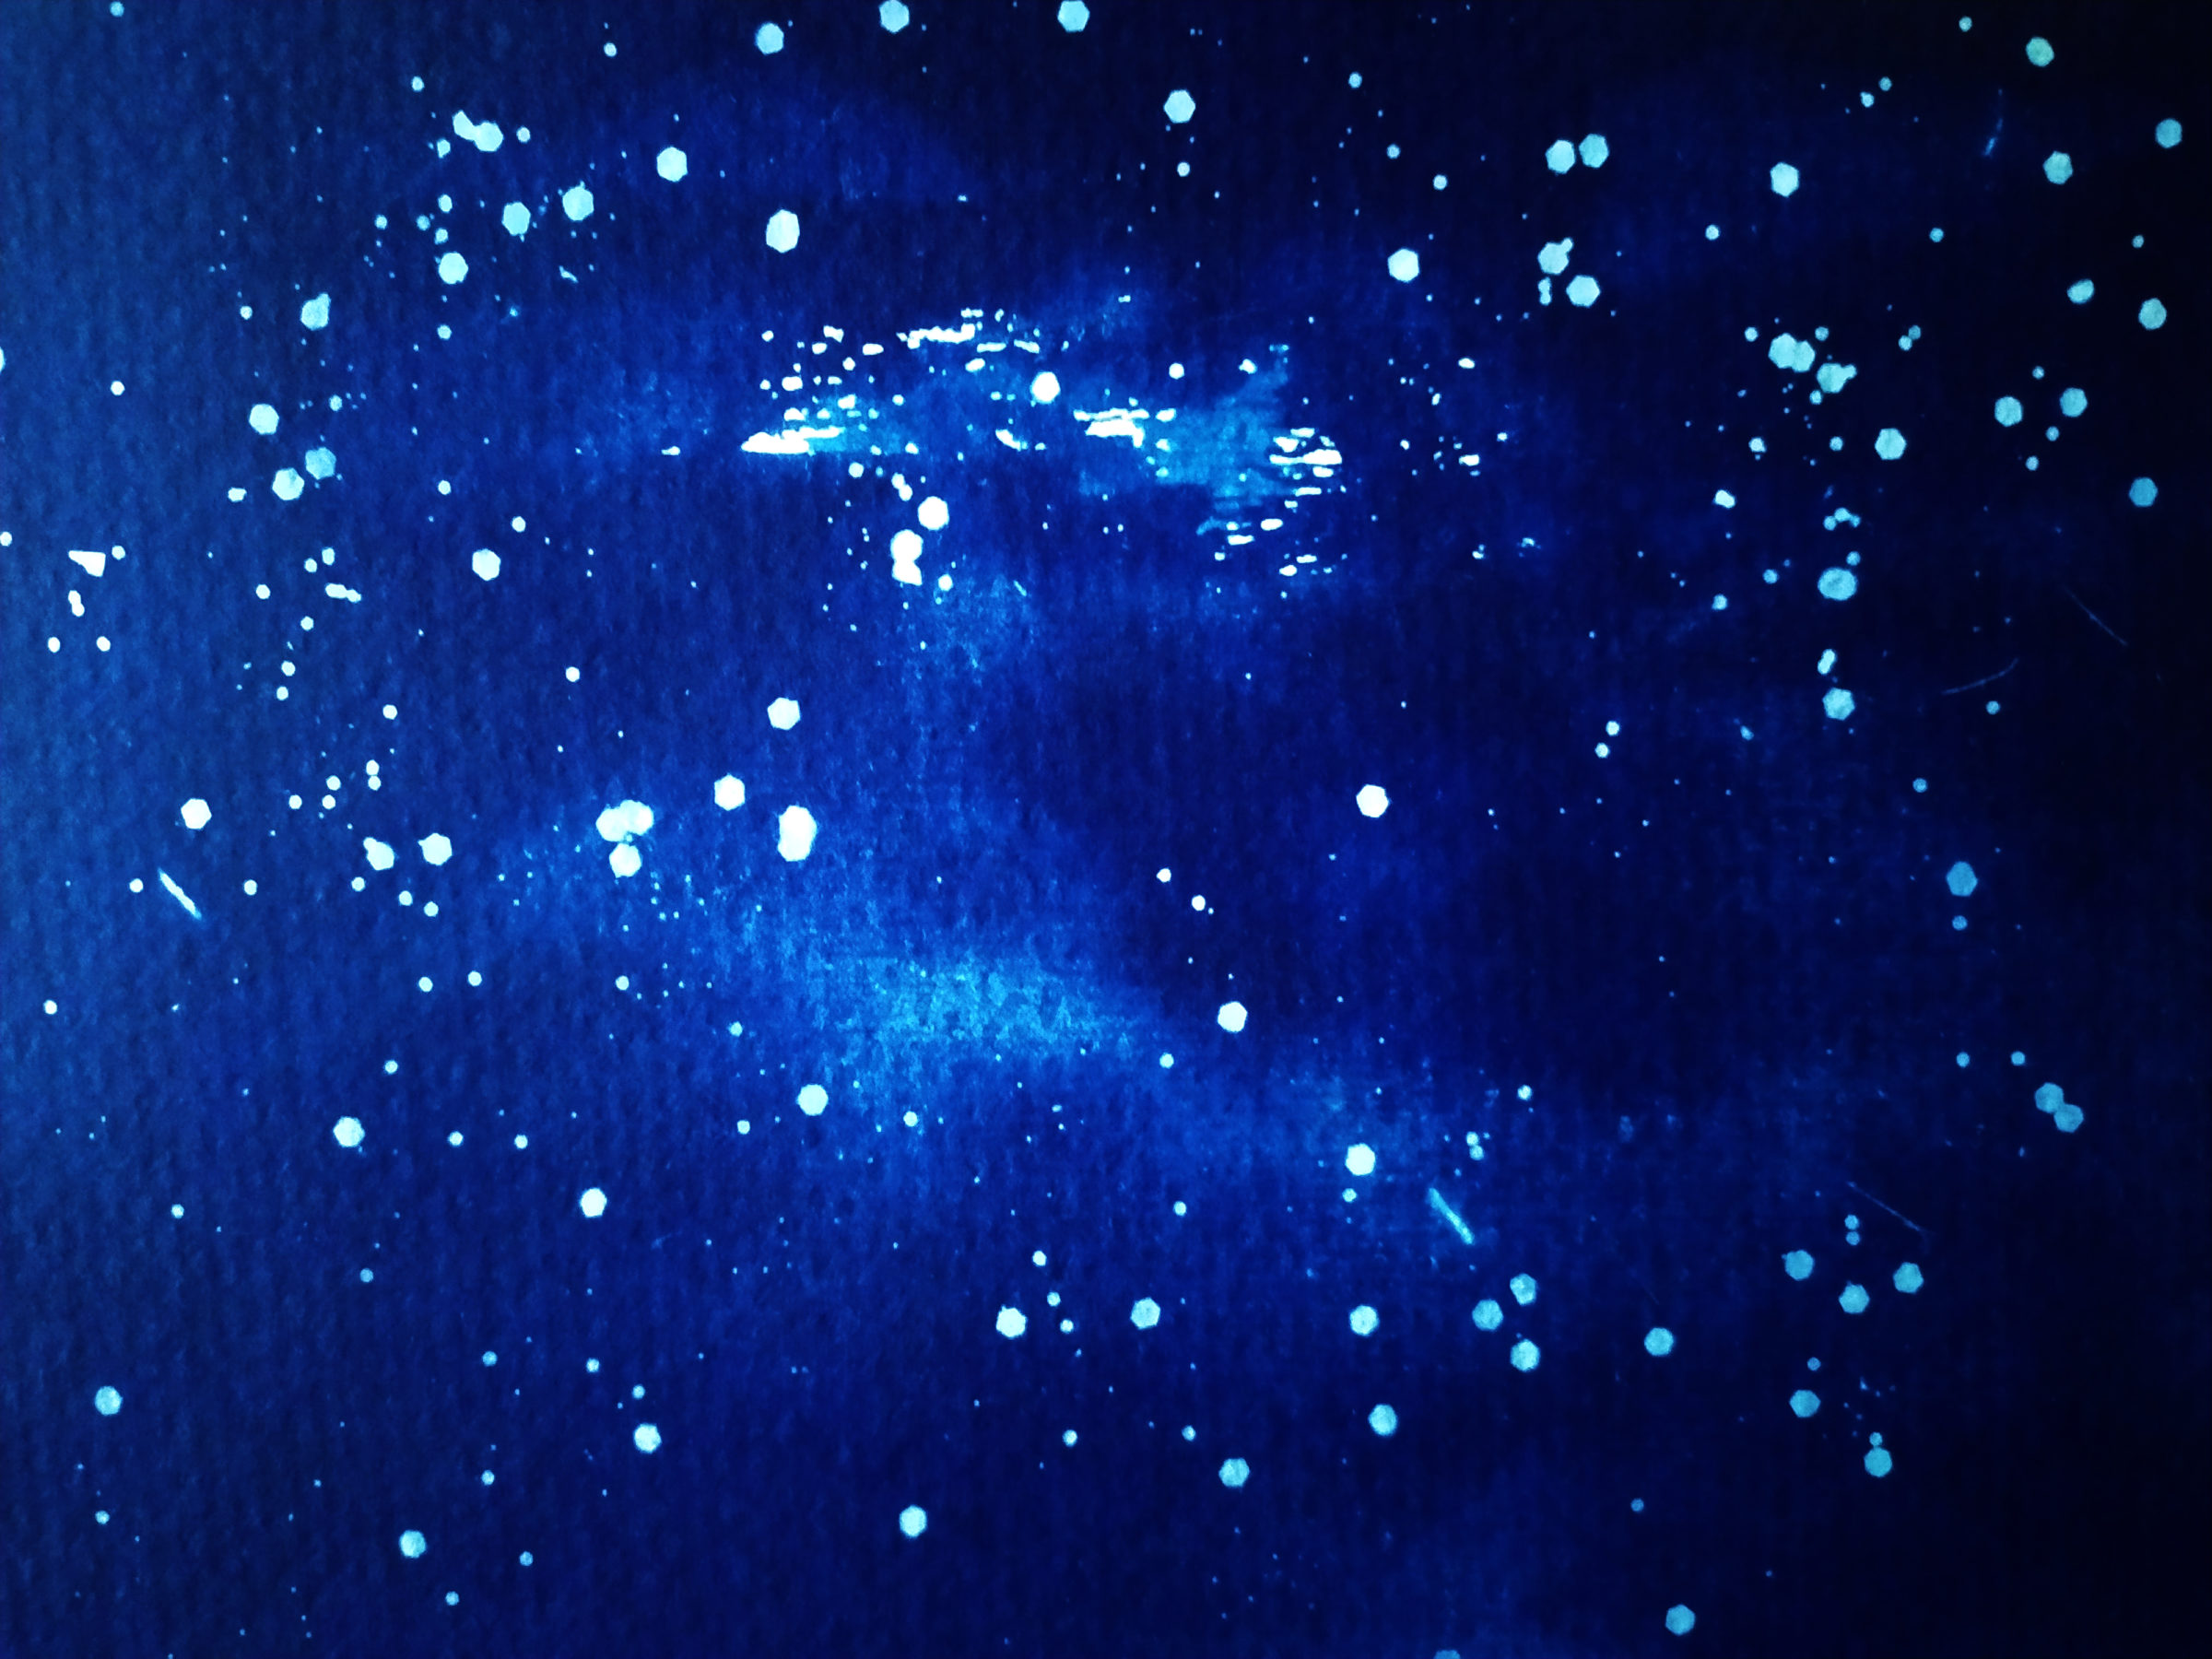
The cyanotype emulsion is greenish-yellow and turns blue after exposure to ultraviolet light.
In pictures, it looks like this, BEFORE / AFTER the exposure, with glitter during the exposure, to create stars!
IT’S DONE
The ink is ready to be used, its colour is latent, i.e. it is not stabilised: the cyanotype emulsion is greenish-yellow and turns blue after exposure to ultraviolet rays.
In pictures, it looks like this, BEFORE / AFTER the sun exposure, with glitter during the sun exposure, to create stars!
Next DIY article in the last quarter of 2020, and the Internet is an abundant resource for knowing what to do with cyanotype ink